 Continue with Steam
To win a standard Deadlock match, your team must destroy the enemy 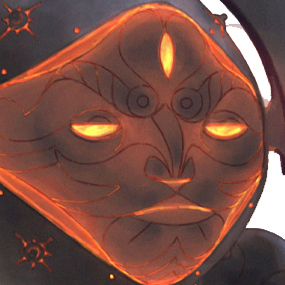 Patron while protecting its own. Guardians,
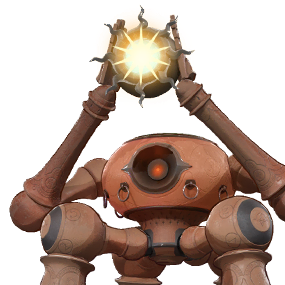 Walkers and base defenses stand between you and that goal; map objectives such as the
 Soul Urn,
 Unstable Rift and
 Mid-Boss offer other ways to gain an advantage along the way.
When choosing what to do, start with the immediate threat, then look for an objective your team can actually reach and contest. A nearby structure under attack may need defense now; an available map objective may be worthwhile when allies can get there safely. Neither choice is automatic:  health, enemy positions and the state of the lanes matter.
Which defenses lead to the Patron?
The basic route through an enemy lane is:
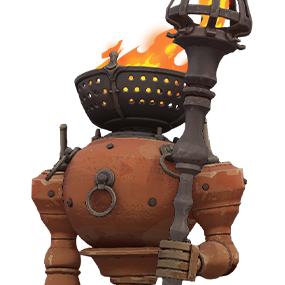 Lane Guardian → Walker → a pair of
 Base Guardians → both Shrines → Patron
This is a progression of defenses, not an instruction to clear every structure in every lane. Your team needs an accessible route into the base; one destroyed pair of Base Guardians makes the Shrines vulnerable. Both Shrines must fall before you can finish the Patron. The objectives overview by SenseOS describes the sequence, and Valve’s May 2026 update specifies the Base Guardian condition for damaging Shrines.
| Objective | Why it matters | Beginner’s check |
|---|---|---|
| Lane Guardian |
The first defense along a lane; destroying it opens progress deeper into that lane. | Are allied 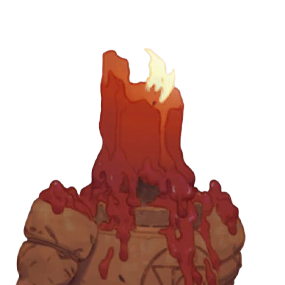 troopers and teammates nearby, and can you leave if defenders arrive? |
| Walker |
A deeper lane defense; destroying one also grants the team an extra item slot. | Is the route open, and can your team safely handle its attacks and defenders? |
| Base Guardians |
A pair protects a base entrance; defeating a pair opens the way to the Shrines. | Is the path into the base available and is your team ready to support the push? |
| Shrines | These base defenses protect the Patron. Both must be destroyed to expose it. |
Has a Base Guardian pair fallen, and can you sustain the push? |
| Patron |
The final target; finish its phases to win. | Is it vulnerable, and can your team survive the defenders? |
Cannot  damage the target? Check the earlier defense on that route and whether the Base Guardian pair has fallen before attacking a
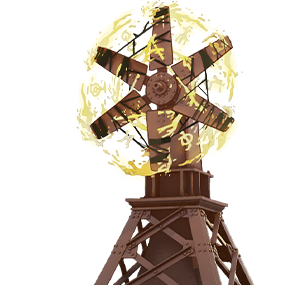 Shrine. Both Shrines must fall before the Patron is exposed. If the target is available but the team cannot safely stay, retreat and prepare another attempt.
Valve’s November 2025 update ties  extra slots to Walker kills. Use the health bars and objective indicators in the match to see which defenses are still standing; a later structure is not a useful target if the route or its protection prevents progress.
How to attack a structure safely
Look at the lane before committing. Are your troopers moving toward the objective, or is an enemy wave pushing toward yours? Can your allies reach you? Can you see the defenders, and do you have enough health to step back? Help the wave advance, then take a safe opportunity to damage the structure with your team.
 Structures can fight back, and defenders may return from another part of the map. Do not stay just because the target is low on health. If allies retreat, your health is low, or enemies appear on your escape route, step back and reassess. Progress on a structure is useful only if the attempt does not leave your team unable to defend its own side.
Practical example: your allied wave reaches an enemy Guardian while your lane partner is nearby. Help clear the defending troopers and take a short opportunity to damage the Guardian. If both defenders return before you can finish, fall back toward cover and collect the next wave rather than attacking alone.
How do you defend an objective?
Check the 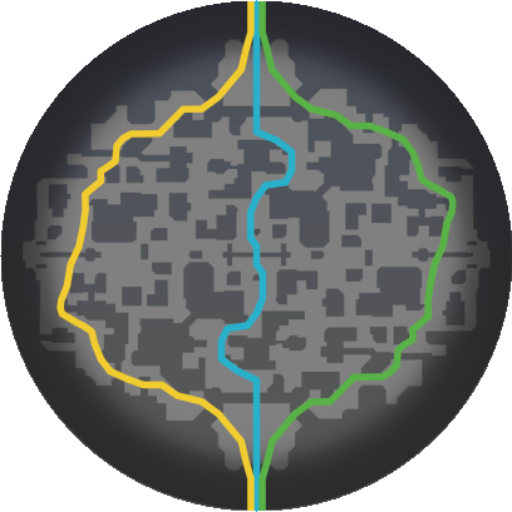 minimap for an enemy wave or heroes advancing toward an allied defense. If you can reach it in time with enough support, clear the troopers and help your team hold the area. Defending protects a route toward your base and buys time for allies to arrive or recover.
If you are alone against several opponents, do not assume you can save a structure by standing directly on it. Signal the threat, stay near a safe exit and help from a position you can survive. Sometimes giving up a damaged Guardian is preferable to losing your hero as well. A defense can continue at the next structure once teammates return.
The base is threatened
For example, your team is moving toward a distant map objective while an enemy wave and heroes approach your base. Check who can return in time and signal the danger. If you can help defend without arriving alone into overwhelming pressure, turn back; if not, coordinate a safer defense with the teammates who can reach it.
Know the major map objectives
These objectives can support your team’s progress, but none replaces destroying the Patron. Their precise rules have changed during development; check the in-game indicators and current notes rather than relying on old timers.
Soul Urn
The Soul Urn is carried to a delivery point for a soul reward. Valve’s June 2026 update made Urn running its own objective: the delivery releases soul orbs, and an ally who secures them shares the runner’s bounty. Help the carrier reach the destination and secure the reward when your team can do so safely. The delivery is not direct damage to the enemy Patron.
Before going for it, check whether your team can protect the route and whether another lane needs urgent defense. If the carrier is isolated or the enemy controls the destination, rushing in alone can give the other team an opportunity. The Urn guide covers carrying and contesting in more detail.
Does the Urn damage the Patron?
No. The Urn provides a soul reward through delivery and its released orbs; destroying the enemy Patron remains a separate objective. Escort and secure the delivery only when the route and your team’s other obligations allow it.
Unstable Rift
The Unstable Rift is a separate contested area. Securing it gives a reward and sends Rift Troopers down a lane, according to the same June 2026 update. It no longer requires an Urn delivery to begin.
Look at the map, your allies and nearby enemies before committing. An objective may be worth contesting if your team can arrive together and hold the area; if your own base is in immediate danger, defend it first. Do not treat every announced Rift as a mandatory fight.
Mid-Boss and Rejuvenator
The Mid-Boss is a neutral enemy in the middle of the map. Defeating it creates the  Rejuvenator, which can provide team revival credits when claimed. Valve describes the revival rework and heavy-melee claims in its developer update; the community wiki explains the current credit system. The opposing team can contest the crystal, so killing the boss is not the same as safely claiming the reward.
Is defeating the Mid-Boss enough?
The Rejuvenator still needs to be claimed, and the enemy can contest it. Before starting, check whether allies can protect the area and whether you can give up time elsewhere on the map. A boss attempt is an opportunity, not a guaranteed reward.
Start only when your team has enough help, health and time to handle both the boss and a possible enemy contest. If your defenses are under immediate pressure or the enemy is already set up nearby, another action may be safer. See the Mid-Boss guide for preparation and claiming details.
Which objective should you choose now?
Before moving, ask these questions in order:
- What is threatened? Look for an allied structure or the base that needs attention now.
- What is reachable? A structure must be exposed and the route open; a map objective needs a safe approach.
- Who can help? Check allies, enemy locations, health and the wave. If you are outnumbered, ask for help or choose a safer task.
- What do we give up? Consider the wave or defense you would leave behind, and whether you can retreat if the plan fails.
This is a priority check, not a fixed order for every match. These examples show how the conditions change your first choice:
| Situation | Reasonable first choice | Reassess if |
|---|---|---|
| Enemy heroes and a wave threaten your base | Signal and help defend if you can reach it safely | Your team cannot arrive together or the threat changes |
| Allies are nearby and an enemy lane structure is reachable | Support the wave and attack with an exit route | Defenders return or the structure is protected |
| An Urn or Rift is available, with allies able to support |
Check the route and contest when the area is safe enough | A base defense becomes urgent or allies cannot reach you |
| Mid-Boss is available but enemies are nearby |
Avoid starting alone; prepare with teammates or choose another task | Enemy positions and team readiness change |
After you have learned what the targets do, the guide to turning a won fight into objectives helps compare the next action after combat. The laning guide covers protecting your first Guardian and managing the opening lane.