 Continue with Steam
Push when you can safely send your 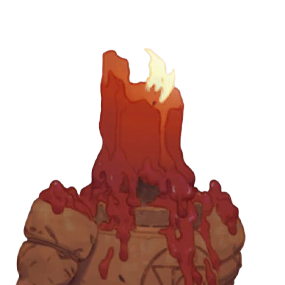 troopers forward and use the resulting space for a specific action. Hold when staying closer to your side gives you a safer way to farm. Clear a threatening enemy wave when your immediate job is to protect a structure or free yourself to move; clearing does not mean you must follow your own wave deep into enemy territory.
The decision is about where the next fight over farm will happen and what you can do before it arrives. A favorable position can make an opponent respond, but it does not guarantee that they will, or that your route is safe. For the basic lane economy and orb contest, see laning fundamentals and souls.
Read the lane before you choose
Look at both groups of troopers, not only the line on the 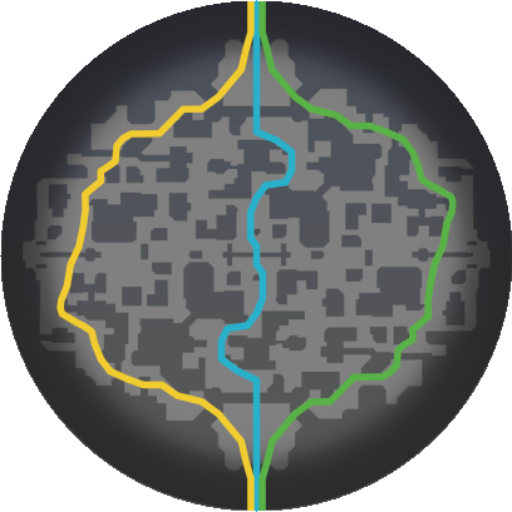 minimap. Which side is winning the current fight? Where will the survivors walk if nobody intervenes? Is an enemy wave approaching your Guardian or
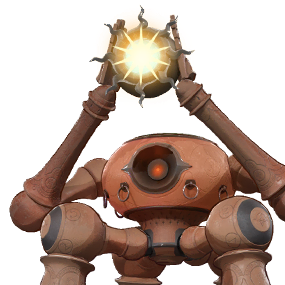 Walker? A friendly wave moving toward an enemy structure can create pressure; an enemy wave moving toward yours creates a defensive obligation. The community strategy reference describes the connection between trooper pressure, map control and
 structures; treat its specific balance details as community information rather than verified patch rules.
Next, check the players. Note enemies visible elsewhere, enemies missing, your  health, available escape and the closest teammate. A wave far forward may be worth clearing, but its position does not make the route safe. Ask what you want immediately afterward: protect your structure, shop, take nearby farm, join a fight or pressure an objective. If there is no useful next action, pushing farther can simply expose you.
Schematic, not a map: F is your structure, E the enemy structure, x the wave meeting point and arrows indicate its possible  movement. Distances, cover and travel times are not represented.
YOUR SIDE                                      ENEMY SIDE
F -------- x ----------------------------------------- E
          near you: shorter retreat, less room to advance

F ---------------------------------------- x --------- E
                                     forward: pressure, longer retreat
Position changes as troopers and heroes act. Do not assume a wave will stay fixed, reverse on a schedule or reproduce a freeze recipe from another game.
Choose push, hold or clear by intent
| Immediate intent | Choice | Next action | Stop or reassess when |
|---|---|---|---|
| Create space for a planned move | Push | Leave for the planned destination | The route is unsafe or the enemy clears immediately |
| Farm with a shorter retreat | Hold | Collect safely and watch the wave | Your structure is threatened or your team needs you |
| Protect an endangered structure | Clear | Reassess whether to leave or push | You cannot clear safely alone |
| Join an urgent fight | Compare | Move if arriving matters more than the lane loss | A teammate can cover, or the structure is already in danger |
Push, hold and clear describe your intention, not exclusive mechanics. Killing enemy troopers to defend can also start a friendly push. A hold is a temporary attempt to keep the meeting point useful, not a promise that it will remain there indefinitely.
Push for a reason, then leave
If the enemy laner is visible elsewhere and you have a safe exit, clear the enemy troopers and watch your own group advance. Before committing farther, identify your next destination and decide how much danger you are willing to accept. You might briefly pressure a structure, collect nearby neutral farm, shop or help a teammate. The opponent can ignore the wave, clear it quickly or send someone else; watch their response instead of assuming you have earned a fixed window.
Stop pushing when enemies disappear toward you, your escape becomes exposed, your resources are too low, or the team needs you sooner. A partial push followed by a safe departure can be better than escorting the wave all the way forward. Community discussion offers both aggressive push-first and safety-first views, which illustrates why the right choice depends on the situation rather than a universal rule: wave management discussion.
Pressure check: Did your troopers advance, did an opponent respond, and did you reach your planned action safely and in time? If any answer is no, identify whether the issue was the wave, the route or the decision to stay.
Hold only while the lane remains useful
If you are low on health or opponents may be nearby, let the engagement come toward your side where practical.  Damage enemy troopers deliberately rather than automatically spending every ability on the wave. Watch the actual meeting point and protect your opportunity to collect farm without walking into a bad fight.
Holding has a price: you may be slow to help teammates, and an uncontrolled enemy wave can damage your structure. If it grows dangerous, clear enough to stop the pressure. If a teammate needs help urgently, abandon the hold rather than defending an ideal position while the match moves elsewhere. The MetaBot lane guide also compares safer holding with pushing to leave; its prescriptive timing claims should not be treated as current patch rules.
Clear the threat without overextending
When enemy troopers are already near your Guardian or Walker, remove the immediate wave from a position where you can retreat. Then look again: if your own troopers move forward, decide whether following is safe and useful. You can clear defensively and leave; pushing deeper is a separate commitment. If the wave cannot be handled safely alone, ask a teammate to cover that lane and say you are leaving. Recheck the map before assuming it is covered; if nobody can reach it safely, give ground rather than die beside the structure.
Turn lane position into a next action
A pushed lane can give you a chance to take nearby farm or move, but it is not a reservation on that space. Check how quickly the enemy clears, whether the next wave is approaching and whether an unseen opponent can reach you. Collecting a camp is not worth assuming you can return in time. The jungle guide covers neutral farming choices; here the wave determines whether you have a practical window to use one.
Before a planned objective, identify the lane that would otherwise threaten your own structure while your team is away. If time and safety permit, push it toward the enemy, then move with an exit route and enough resources to contribute. Your troopers may demand a response, but an opponent can clear or ignore them. If your team is already engaged or the lane is too dangerous, do not sacrifice the fight to complete a perfect push. For the objective itself, see objectives.
What if my team needs me before I can push?
If the fight is already urgent, a complete push can make you arrive too late. Compare the likely structure loss with the value of arriving now; ask a teammate to cover the lane if possible. Leave immediately when the team needs your presence more, and accept that the unattended wave may cost farm or structure health.
Review two hypothetical decisions
These examples are hypothetical, not recorded matches or client tests. Use the questions to review your own replay.
Hypothetical: safe wave, unsafe extra push
Your team plans to contest an objective. You clear a side wave while two opponents are visible elsewhere, and your troopers begin moving forward. Instead of following until the enemy structure, you move toward your team from cover. One opponent clears the wave, but you arrive ready for the fight. Review: did the wave actually advance before you left? Was the path safe when you chose it? If the enemy had already reached your route, earlier departure would have been preferable.
Schematic outcome choices: F is your structure, E the enemy structure, > friendly troopers, and P your planned move. This shows choices, not map geometry or a guaranteed response.
F ----------- >>> ---------------- E
                |-- opponent clears: pressure ends sooner
                |-- opponent ignores: troopers may threaten E
                P: move toward the planned play if the route is safe
Hypothetical: holding becomes a defensive clear
You are low on health with an opponent missing. You let the wave approach your side to farm more safely, but enemy troopers begin threatening your Walker. You clear the wave near the structure and retreat instead of chasing yours. Review: did you notice the pressure early enough, and could you have defended without stepping into the missing opponent? If not, ask a teammate to cover rather than assuming the hold is safe.
Review the decision, not just the outcome
- Before: Where was the wave heading, who was visible and what did I want next?
- Choice: Did I push for a destination, hold for safety, or clear a threat? What did I give up?
- After: Compare your predicted enemy response with what actually happened. Did the enemy respond, did the structure remain safe, and did you reach your next action in time?
- Adjustment: If the wave was cleared immediately, the route became dangerous or the fight started sooner than expected, choose an earlier exit or a defensive clear next time.