 Continue with Steam
Farm a nearby 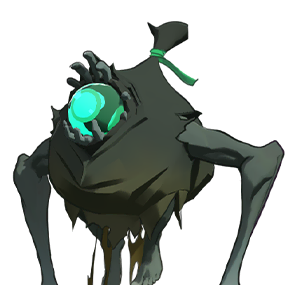 Haunt camp when your lane is stable, you can clear it safely, and you can return for the next wave or another commitment. The camp is an extra opportunity, not a reason to leave a wave threatening your structure or abandon a fight your team needs you to cover. Choose the route by the time and safety available, not by a fixed camp order.
What changed about the jungle?
Deadlock’s City Never Sleeps update replaced the old neutral creatures with Haunts that have different behaviors. Valve also added in-world respawn timers visible near Haunt spawn areas and displays showing NPC soul value and comparative difficulty. Use those indicators and the current map during the match; an old route or timer table may no longer describe the camp you find. Valve: City Never Sleeps
The examples below are schematic decision routes, not exact map geometry or claims that a particular camp is always present. Identify a nearby camp and its exit in your current match before applying them.
Plan the loop before leaving the wave
- Check the lane. Is an enemy wave approaching your structure, or have you dealt with the immediate pressure? If you can safely clear or stabilize the wave first, do that and collect the available
 souls. If you cannot leave without losing an important defense, stay or coordinate coverage.
- Choose a return point. Decide where you need to be next: back at the lane, with an ally defending it, or near an upcoming team commitment. Look at the next wave’s position and your team’s movements before picking a camp.
- Pick one nearby camp. Choose one on a route that leads back toward that point, not a long detour into territory you cannot safely exit. Near the spawn area, check the in-world respawn indicator rather than waiting at an empty camp by habit.
- Budget the entire trip. Allow for travel out, the fight with the Haunts, collecting what is available, and the return. Your
 health, ammunition,
 abilities and
 stamina may change how long or safe the trip is. Leave a margin for an enemy appearing or the clear taking longer than expected.
- Set an abort condition. If the wave is arriving, an enemy threatens your exit, your health drops too far, or the camp is taking longer than expected, leave. You do not have to finish every camp you start.
- Return and reassess. Check the lane and
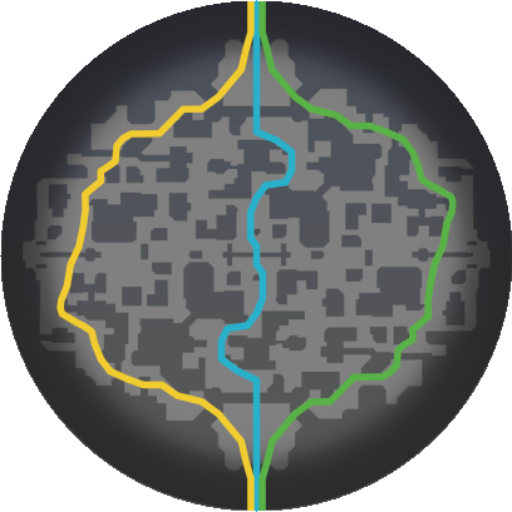 minimap as you move. Catch the wave if safe, help the teammate who is covering it, or change the plan if the situation has moved elsewhere.
For the basics of collecting souls, see the souls guide; for handling the lane itself, see the laning guide.
Should you take the camp now?
| Check | Take a short camp detour if… | Skip or return if… |
|---|---|---|
| Wave | It is stable or an ally can cover it. | It needs your immediate defense. |
| Camp and exit | The camp is available and you can leave safely. | It is empty, contested, or the exit becomes dangerous. |
| Resources and time | You can clear and return with a safety margin. | The clear drains too much health or delays the next commitment. |
Mid-clear check: Look at the lane, your health and your exit. If the next wave or an enemy has changed the decision, leave toward the safest available cover or teammate. A partly cleared camp is not a reason to accept a worse fight.
Three schematic routes
When the wave is stable
Lane wave → nearby Haunt camp → same lane. Your wave is under control, no immediate fight is starting, and a nearby camp lies along a route with a usable exit. Clear the wave safely, move to that camp, and check the lane while fighting. Return as the next wave approaches rather than automatically adding a second camp.
This is a good first loop to learn because you can compare the return with the next wave. If the camp takes too long or leaves you too low to collect the wave safely, shorten the detour next time or skip it. A pushed wave creates an opportunity, not a guarantee that enemies will leave you alone.
When the wave needs defense
Approaching enemy wave → lane defense → reassess a nearby camp. An enemy wave is close to your structure and nobody is covering it. The nearby Haunts can wait: clear or help defend if it is safe, then look for an opening. If an ally is already covering the wave and you agree on the division, you may be able to take a nearby camp, but stay ready to help if the defense changes.
An unattended wave can cost more than the camp in missed collection and structure pressure. This is a comparison of the whole situation, not a promise that every wave is worth a particular number of souls or that solo defense is always safe.
Should I finish a camp after the wave starts to threaten my structure? Only if the lane is already covered and you can still meet your next commitment safely. If you are needed for defense, leave; the time already spent on the attempt does not obligate you to stay.
When the lane is unsafe
Unsafe lane → nearby safer camp → covered return or teammate. If opponents control the lane and stepping forward would expose you, look for a camp closer to a safe retreat. Check missing enemies and your own health before entering. When the camp is cleared, return only if the lane is safe enough; otherwise move toward help or another defensible position.
If a teammate can collect the wave, coordinate rather than assuming they will cover it.
Count the costs as well as the camp
The useful comparison is not just the souls shown on the camp. Ask what the entire loop consumes:
| Cost | Question before committing |
|---|---|
| Time | Can I travel, clear, collect and return before the lane needs me? |
| Health and ammunition |
Will I still be able to handle the wave or escape if the camp takes resources? |
| Abilities and stamina |
Am I spending a tool I may need for the next fight or retreat? |
| Exposure | Who can reach me, and where is my exit if the camp is contested? |
| Team opportunity | Will this detour leave a wave, structure or nearby fight uncovered? |
Haunt rewards can include Haunted Souls that are vulnerable on  death before they are secured, according to the community camp guide. A large unsecured balance makes an unnecessary risky detour more costly. Do not assume a camp pays for a missed wave or a death; compare the actual opportunity and danger.
Learn the route for your hero
Try one loop at a time. After returning, check: did you arrive before the wave needed attention? Did the clear leave enough health and ammunition for your next job? Did you need an escape that was unavailable? If the answer is no, change one part of the route: choose a nearer camp, use a safer exit, or leave earlier. If the lane was covered by an ally, include that coverage in your assessment. For example, if you returned after the wave needed attention, try a closer camp or leave earlier next time, then compare the next loop.
You can also explore the updated map and test  movement outside a live match. Valve lists map-routing and spawn controls among its testing tools. Practice helps you learn a route, but the wave, enemies and team commitments in a real match still determine whether to take it.